Steps to apply your signature in Outlook on the web (Office 365)

1. Open the template of signature, with format file.HTML
(double click or drag to Chrome browser) recommended use Chrome for open first time.
2. Select All (Ctrl + A) on Windows or Cmd A on Mac, and then Copy.
3. Go to the Outlook on the Web message content settings (log in to your Office 365 account if you weren’t already logged in).
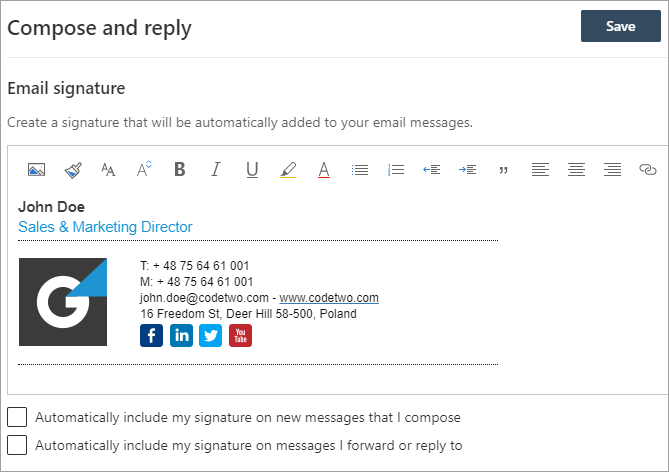
4. Paste the copied signature directly in the signature editor.
5. Save changes by clicking the Save button above the signature options.
----------------------------------------------------------------------------------------------------------------------------
For a detailed guide:
Set up email signature in the new Outlook on the Web
The layout of the new email signature editor in the new OWA has changed, although, its functions are primarily the same. Two buttons were added: format painter and the quote.
- Log in to your Office 365 account and go to Outlook, or use the direct link to the new OWA.
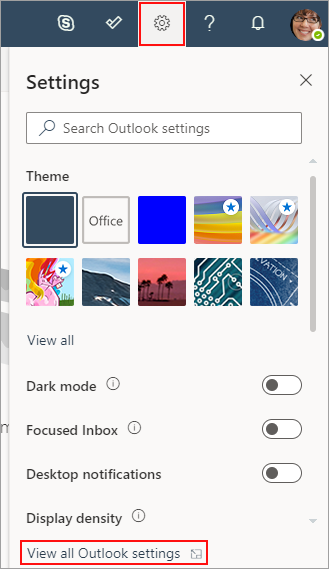
- Next, open the settings by clicking the gear icon in the top-right corner and click View all Outlook settings on the bottom of the pop-up window:
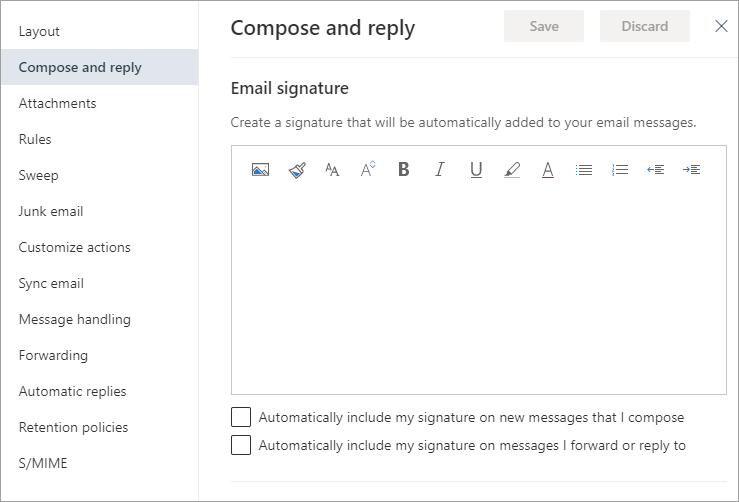
- In the Compose and reply settings category you can create or edit your email signature, and choose whether it should appear automatically in your messages. If no checkbox is chosen, you will be able to add the signature manually. This settings windows should also be accessible by the following link: https://outlook.office365.com/mail/options/mail/messageContent
- Instead of creating your signature from scratch, you can use the free email signature generator to quickly create a well-formatted email signature and paste it into the OWA editor.
Set up an email signature in Outlook on the Web
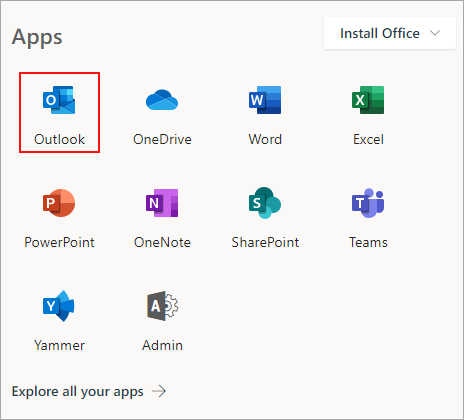
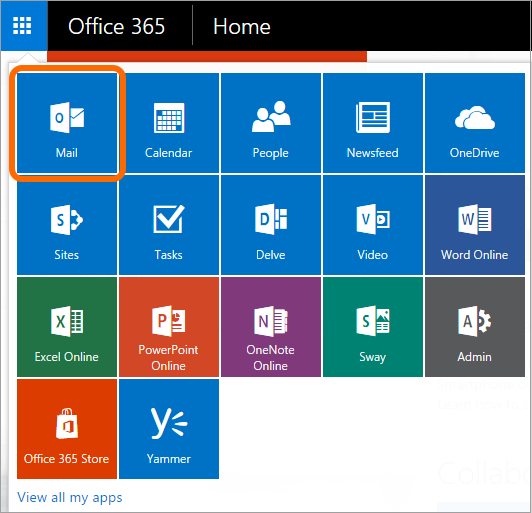
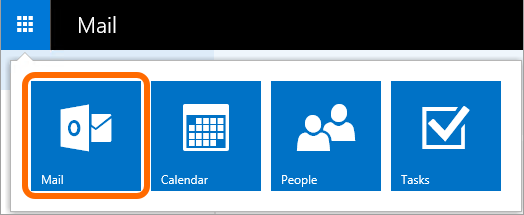
- Log in to your Outlook on the Web account and go to the Mail app. Below you can see two examples of the apps view: in Office 365 and Exchange 2016 OWA.

And Exchange 2016 OWA:
- Then, go to the settings (it’s a gear icon at the top right-corner of the screen) and click Mail (Office 365) or Options (Exchange 2016).

- On the left pane, extend the Mail section, then Layout and select Email signature.

- To make signature appearing in every new email message, check the Automatically include my signature on new messages I compose box. Then, compose your email signature using available formatting tools. You can also compose your signature within an email signature generator and then paste it to Outlook on the web’s editor.

- Once your signature has been created, hit the Save button so that all changes take effect.

- Go back to your main Mail view and click the plus icon next to the New button or click the arrow and select Email message.

- Your signature should be already applied to a newly opened message.

That’s it! Now you do not have to waste time on creating a signature every time you write a new email. Your signature will be already there.
If you want to change your email signature just follow the above steps again.
Comments
Post a Comment